%20scale(1,-1)'%20fill='currentColor'%20stroke='none'%3e%3cpath%20d='M1659%202725%20c439%20-84%20797%20-370%20976%20-777%20106%20-240%20136%20-558%2080%20-829%20-94%20-450%20-414%20-822%20-845%20-980%20-163%20-59%20-246%20-73%20-450%20-73%20-198%20-1%20-236%204%20-404%2055%20-489%20149%20-852%20567%20-931%201074%20-21%20131%20-16%20375%2010%20495%20123%20568%20559%20968%201145%201050%2090%2012%20318%204%20419%20-15z%20M1245%202599%20c-252%20-34%20-491%20-149%20-671%20-321%20-491%20-471%20-484%20-1282%2015%20-1750%2079%20-74%20180%20-149%20204%20-152%207%200%2098%2096%20202%20214%20144%20163%201050%201184%201337%201506%20l37%2041%20-74%2080%20c-174%20188%20-393%20312%20-640%20364%20-107%2022%20-313%2032%20-410%2018z%20m771%20-434%20c6%20-15%20-173%20-227%20-207%20-246%20-10%20-5%20-161%20-9%20-341%20-9%20-239%200%20-327%20-3%20-336%20-12%20-14%20-14%20-17%20-304%20-4%20-325%206%20-10%2079%20-13%20287%20-15%20239%20-3%20280%20-5%20283%20-18%201%20-8%20-45%20-68%20-103%20-133%20l-106%20-117%20-172%200%20c-121%200%20-177%20-4%20-185%20-12%20-9%20-9%20-12%20-72%20-12%20-220%20l0%20-208%20-77%20-87%20c-114%20-130%20-165%20-183%20-175%20-177%20-4%203%20-8%20354%20-8%20781%200%20708%201%20778%2017%20795%2015%2017%2046%2018%20575%2018%20485%200%20559%20-2%20564%20-15z%20M2250%201923%20c-260%20-342%20-703%20-889%20-1162%20-1435%20l-157%20-187%2057%20-21%20c31%20-12%20100%20-34%20152%20-48%2085%20-22%20114%20-25%20270%20-25%20187%20-1%20248%208%20398%2059%20353%20118%20640%20420%20746%20785%2038%20134%2049%20232%2043%20407%20-5%20173%20-28%20284%20-86%20422%20-32%2076%20-111%20220%20-120%20220%20-3%200%20-67%20-80%20-141%20-177z'/%3e%3c/g%3e%3c/svg%3e)
Migrating Synology data to a Debian NAS without losing anything
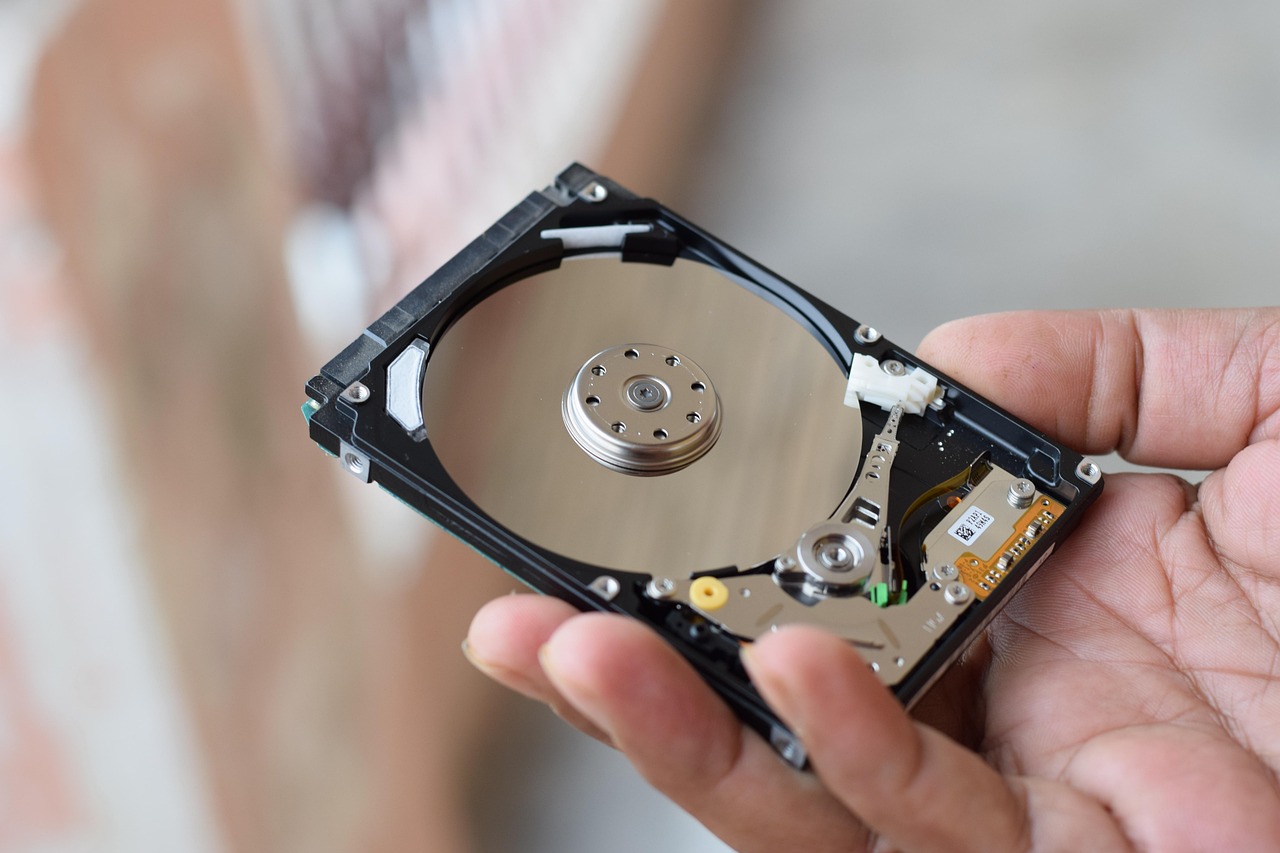
Where I started
I spent years on a Synology DS918+. Good product. Really solid. But eventually the limitations pile up. No custom kernel. Packages locked to Synology's release schedule. And this creeping vendor lock-in that makes leaving progressively harder.
The trigger? Control. With Debian, you pick the hardware. You own every layer. You automate with Ansible. But first, you need to get your data back. That's where it gets messy.
What Synology actually uses
Good news: Synology didn't invent anything exotic. DSM runs on standard Linux technologies:
- mdadm for software RAID (their SHR is just mdadm RAID 5)
- LVM for logical volumes
- Btrfs as the filesystem
- eCryptFS for shared folder encryption
Bad news: Synology added a custom flag to Btrfs, the caseless flag. Makes filenames case-insensitive (SMB/Windows compatibility). The vanilla Linux kernel? No idea what that is.
The Btrfs patch: caseless flag support
Without this patch, kernel screams:
BTRFS error: unrecognized feature flag: caseless
Simple refusal. So: compile a patched Btrfs module that knows about this flag. I built an Ansible role btrfs_synology that handles everything:
- Install kernel headers and build tools
- Fetch kernel sources matching your running version
- Apply the patch adding
caselesssupport - Compile
btrfs.koand install via DKMS
The patch itself? Minimal. Few lines declaring the flag as known, read-only. You don't need to create new caseless files, just read existing ones. Once the patched module loads, kernel accepts Synology Btrfs partitions happily.
Detecting and mounting the RAID
Synology uses mdadm normally. Detection is automatic:
# Scan for existing RAID arrays
mdadm --assemble --scan

# Check RAID status
mdadm --detail /dev/md2
Typical output for SHR (RAID 5) across 4 drives:
/dev/md2:
        Version : 1.2
  Creation Time : Fri Mar 15 10:22:18 2024
     Raid Level : raid5
     Array Size : 5860270080 (5.46 TiB)
  Used Dev Size : 1953423360 (1.82 TiB)
   Raid Devices : 4
  Total Devices : 4
    Persistence : Superblock is persistent
          State : clean
    Active Devices : 4
   Working Devices : 4
    Failed Devices : 0
     Spare Devices : 0
            Layout : left-symmetric
        Chunk Size : 64K
Next, activate LVM:
# Scan and activate volume groups
vgscan
vgchange -ay

# List logical volumes
lvs
  LV   VG   Attr       LSize Pool Origin Data%  Meta%
  lv   vg1  -wi-a----- 5.46t
The logical volume /dev/vg1/lv contains our Btrfs filesystem. Mount it:
mount -t btrfs /dev/vg1/lv /mnt/data
Making it permanent
For everything to mount automatically on boot:
# /etc/fstab - Synology RAID mount
/dev/vg1/lv  /mnt/data  btrfs  defaults,noatime,autodefrag  0  0
The Ansible role also configures mdadm for automatic assembly via /etc/mdadm/mdadm.conf.
eCryptFS: unlocking encrypted folders
If you had encryption on your Synology shared folders, each encrypted folder is a directory with eCryptFS files underneath. Two-step decryption:
# Mount the eCryptFS layer
mount -t ecryptfs /mnt/data/@Famille /mnt/data/Famille \
  -o ecryptfs_cipher=aes,ecryptfs_key_bytes=32,\
ecryptfs_passthrough=no,ecryptfs_enable_filename_crypto=no
System prompts for the passphrase (the one you set in DSM). I automated this in an Ansible role ecryptfs_synology that:
- Stores the passphrase in a secured file (600 permissions, root owner)
- Auto-mounts encrypted folders at boot via systemd script
- Handles multiple encrypted folders with different passphrases
Samba: recreating the shares
Data is mounted. Now put it on the network. I recreated the same share names as on the Synology so Windows/Mac clients found everything unchanged:
# /etc/samba/smb.conf (excerpt)
[Famille]
    path = /mnt/data/Famille
    valid users = @famille
    read only = no
    create mask = 0664
    directory mask = 0775

[Images]
    path = /mnt/data/Images
    valid users = @famille
    read only = no

[Musiques]
    path = /mnt/data/Musiques
    valid users = @famille
    read only = no

[Vidéos]
    path = /mnt/data/Vidéos
    valid users = @famille
    read only = no
Migrated shares: Coco, Famille, Images, Lalitha, Logiciels, Matthias, Musiques, Videos, Telechargements. Proper group-based permissions on each.
New app directories
Beyond migrated data, I created directories for new services:
# Directories for Docker applications
mkdir -p /mnt/data/apps
mkdir -p /mnt/data/media/{movies,tv,music}
mkdir -p /mnt/data/downloads/{complete,incomplete}
mkdir -p /mnt/data/photos

chown -R nasadmin:nasadmin /mnt/data/apps /mnt/data/media /mnt/data/downloads /mnt/data/photos
Everything on the RAID, same Btrfs volume.
Watch out: Btrfs subvolumes
Btrfs organizes data into subvolumes. Synology creates one per shared folder. The gotcha: moving a file between subvolumes isn't a rename - it's a full copy then delete. Multi-gigabyte files? Very slow. Temporarily consumes double space.
# List subvolumes
btrfs subvolume list /mnt/data
So if you need to move large files between shares, use rsync instead of mv. You get a progress bar. You can resume if interrupted.
Swap file on Btrfs
Creating a swap file on Btrfs requires one thing: disable copy-on-write on the file, or kernel refuses:
# Create the swap file
truncate -s 0 /mnt/data/swapfile
chattr +C /mnt/data/swapfile
fallocate -l 4G /mnt/data/swapfile
chmod 600 /mnt/data/swapfile
mkswap /mnt/data/swapfile
swapon /mnt/data/swapfile

# fstab entry
# /mnt/data/swapfile  none  swap  sw  0  0
The chattr +C disables CoW before allocating. Non-negotiable.
Monthly scrub for integrity
Btrfs has a scrub mechanism that verifies all data integrity by checking checksums. I run it monthly:
# /etc/systemd/system/btrfs-scrub.timer
[Unit]
Description=Monthly Btrfs scrub on /mnt/data

[Timer]
OnCalendar=monthly
Persistent=true
RandomizedDelaySec=3600

[Install]
WantedBy=timers.target
# /etc/systemd/system/btrfs-scrub.service
[Unit]
Description=Btrfs scrub /mnt/data

[Service]
Type=oneshot
ExecStart=/usr/bin/btrfs scrub start -B /mnt/data
Nice=19
IOSchedulingClass=idle
The Nice=19 and IOSchedulingClass=idle ensure scrub doesn't interfere with normal operations.
That's it
Synology to Debian migration is totally feasible, even with encrypted folders. The main hurdle is that Btrfs caseless flag - patch the kernel and everything else flows naturally. mdadm, LVM, Btrfs, eCryptFS: standard Linux tools Synology just assembled with a web UI on top. Manipulate them directly and you gain control, flexibility, and keep every last byte of your data.
Debian NAS from scratch series — This article is part of a complete series on building a Debian NAS.
Related articles